Excuse the Instagrammed photos in this post. This blog has obviously been neglected since I started grad school. Last week my husband brought home a box containing sixteen pounds of Colorado peaches. SIXTEEN POUNDS!

Initially, I felt overwhelmed. I'm actually not a big peach person. I never buy them at the grocery store. As soon as I bit into one of these, I changed my tune. How have I been living this long without them? I started searching my favorite blogs to find recipes to use them up. I found a great recipe for single-serving peach cobbler on Joy the Baker and changed it up a bit to make it paleo-friendly and also less topping-heavy. I didn't cut out all the sugar though, because brown sugar & peaches are a match made in heaven. I also left in some of the oats because...well, I felt like it. It ended up making the perfect amount of pie topping and I served it with a small spoonful of peach ice cream (I said almooost paleo!) and whipped cream, slightly sweetened with honey. If you find yourself with sixteen pounds of peaches, or even just one, give this a try and you'll have two perfectly sized portions of peach pie in about 30 minutes.

(Almost) Paleo Peach Pie for One or Two
Adapted from Joy the Baker
1 peach
2 tbsp almond flour
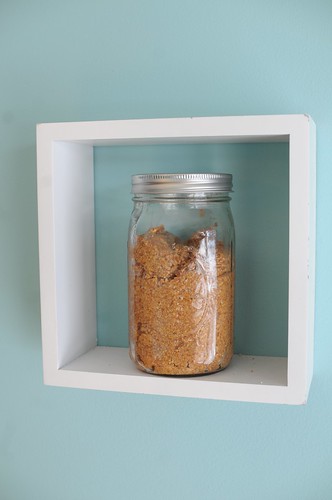
1 tbsp brown sugar
1.5 tbsp gluten free oats (you can skip these, but add 1.5 tbsp more almond flour or coconut if you do)
1/4 tsp cinnamon
1 tbsp unsweetened shredded coconut
1 tbsp butter or coconut oil
pinch of salt
Preheat the oven to 350 degrees.
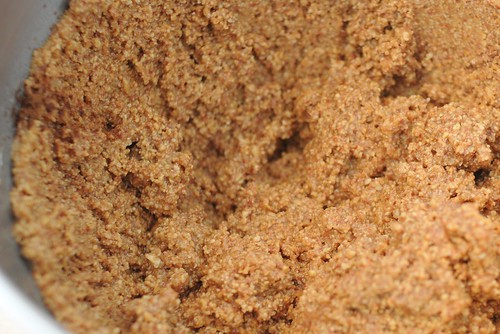
While the oven heats up, cut the peach in half and scoop out just a little bit of the inside to make room for the topping. Feel free to deposit these spoonfuls directly into your mouth. Put one half, cut-side up into a small ramekin (or you can put both halves in a small baking dish). Combine the rest of the ingredients in a small bowl and mix using your fingers. Divide the mixture in two and top each half of the peach. Bake for 20 minutes. Serve (almost) immediately. Don't burn your tongue.
If you don't have a friend to share with and can resist eating both halves at once, you can put one in the refrigerator and reheat it the next day. It will be just as good. It might keep longer, but I haven't been able to resist eating them long enough to find out.